Top Secret lo

This is a lo about the relationship between my son, Will and his Grandpa Carl. They are so close and love spending time together. One of their fav things to do is to share secrets with each other. I love to see Will's eyes light up when they are playing around! I had fun with this lo and used some techniques that are a first for me.
Here are some closeups of the stitching on the side.

And the masking and rubons...


........................................................................................................................................................................


........................................................................................................................................................................
Deadly Muse lo

This is a lo of me and the girls in my bookclub, The Muse, at a booksigning with Charlaine Harris, author the Sookie Stackhouse novels. We had so much fun here. The title comes from the autograph that I recieved in my book. She wrote: "To Tabbetha, a deadly muse." I will treasure that book always.
Here are a some close ups of the techniques I used on this lo.


On the first close up, I inked some red ribbon and then twisted it up and went back and forth across the tear. I just taped it on the back no threading involved! I added some brads and pin that I made.
On the second close up, I just got the tip of my finger wet and rubbed until it formed a hole, then cut out a small piece of red paper, crinkled it up, inked it, and taped it behind the tear. I also printed some photos of the books off the internet and shrunk them to make my border.
Thank you so much for visiting my post, I always look forward to your comments.


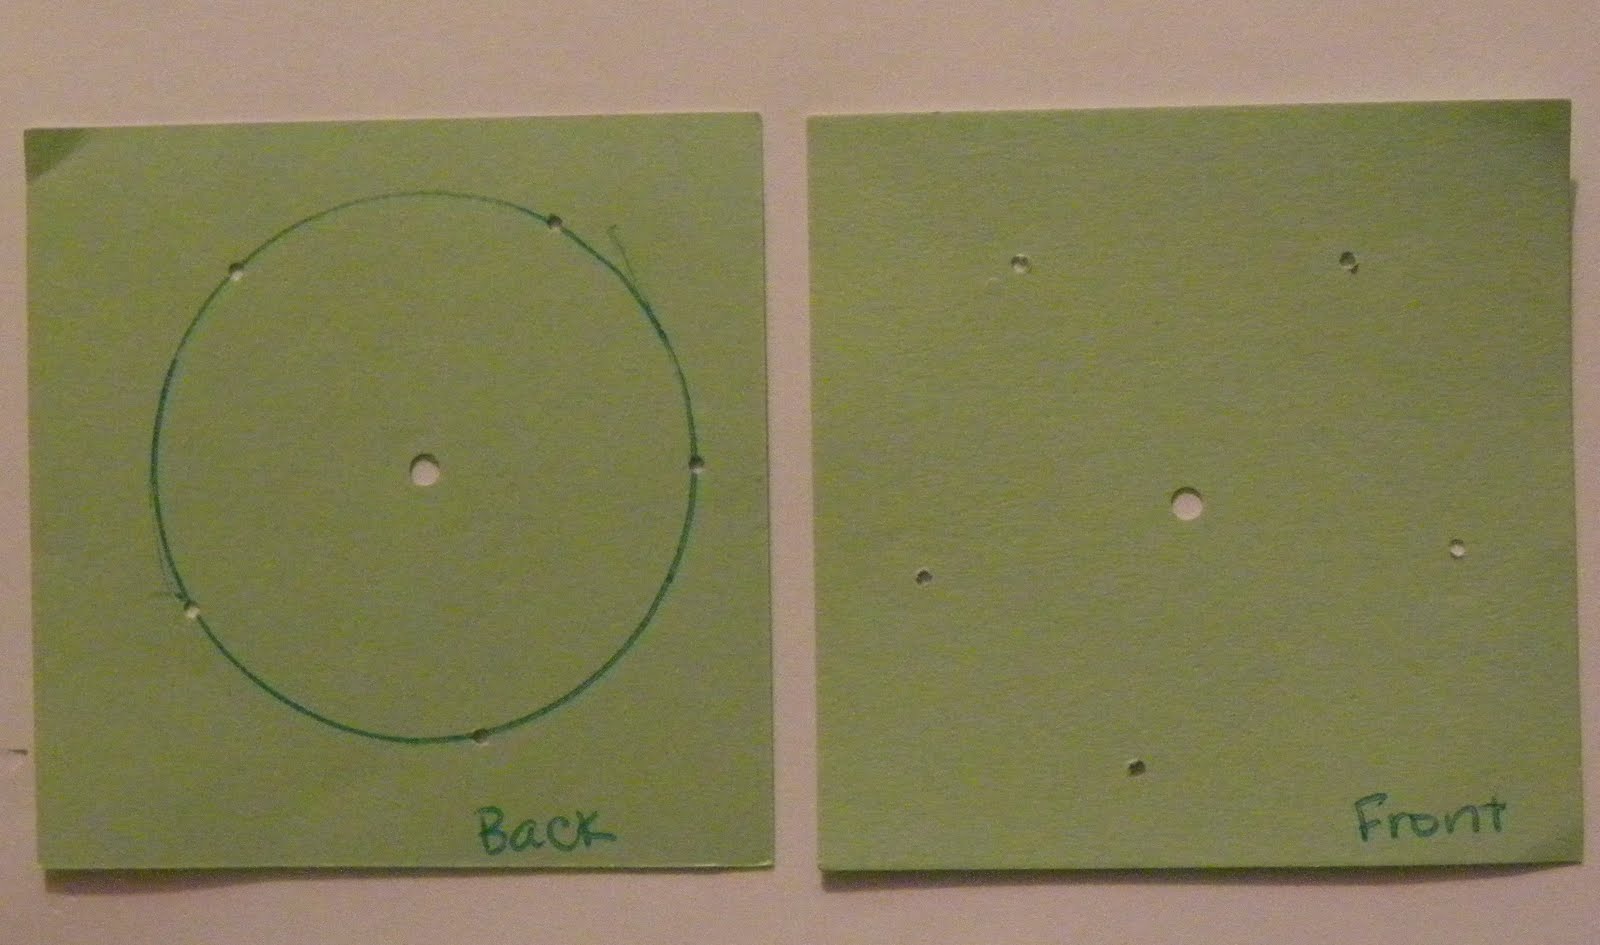


 Bring the ribbon up through the center hole in the circle, careful not to catch the floss in your needle.